
I've installed screws on all my wood easels, another studio easel and a french traveling easel.
The main reason that I use these screws is so that I can brush past the end of the canvas, much like one can brush past the side of the canvas when it's on a normal easel. As the size of my paintings tends to be on the smallish side, it's important to me to be able to control my brush work right up to the edge of the canvas.

The screws also hold on to the canvas and give me confidence that the canvas will not go anywhere ;)
The easel in the these photos is my biggest easel. The Italian Mabef M/04, here is a link to Mabef's website http://www.mabef.it/english/prodotti/studio.php

This is a beautiful easel with a crank at the front to move the canvas up and down as you need.


Here is how I went about installing the screws into the easel. For the top part I ended up using a small piece of wood I had sitting around. I put 4 screws though the piece of wood pointing downwards. Then I attached the piece to the easel's top holding thing with 2 screws.

I wanted to keep the screws as close (front and back) to the main upright support of the easel so the canvas can be placed firmly against the main support and then one can lower the top holding thing to secure the canvas.

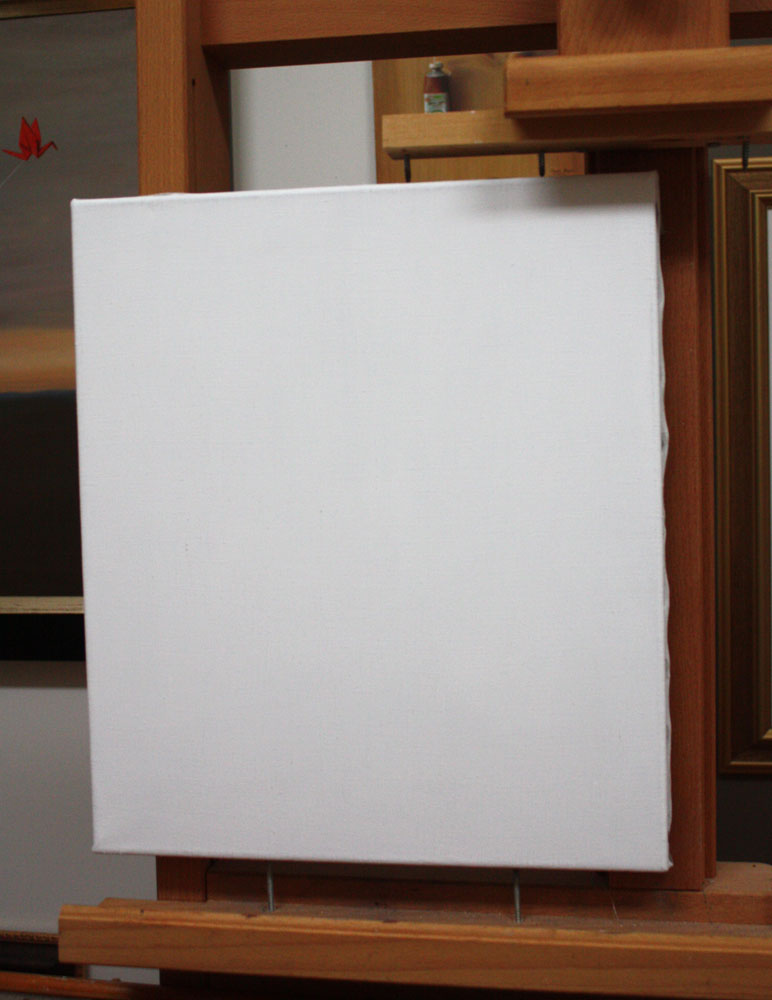
When I'm working on a small canvas I want to be able to set it up at the left of the easel so I can see my model and the canvas easily. With the top wood piece extending out on both sides it lets me set the canvas where I want it.
For the bottom I've installed 4 screws along the bottom support. Here it got a little tricky as I couldn't get a screwdriver to work coming up from the bottom shelf, as below the bottom shelf is a box to store things. This box is attached to the bottom shelf and got in the way. I ended up drilling holes down into the bottom support and then using a hacksaw to cut the heads off the screws. I then used pliers to hold the screws from the top and turn them down into the drilled out holes.


Here is the last tip, make sure all the screws are at the same height! ;)
No comments:
Post a Comment